


| Min. Order: | 5 Set/Sets |
|---|---|
| Payment Terms: | T/T, WU |
| Place of Origin: | China (Mainland) |
| Means of Transport: | Ocean, Air |
| Production Capacity: | 5000sets/month |
| Packing: | Neutral Packaging |
| Delivery Date: | one week after payment |
| Brand Name: | Starway | Light Souces: | LEDS |
|---|---|---|---|
| Waste currant: | <600mA | Ambient temperature: | -40 ℃~ +50 ℃. |
| flash patters: | 15 | Power supply way: | Constant voltage current control |
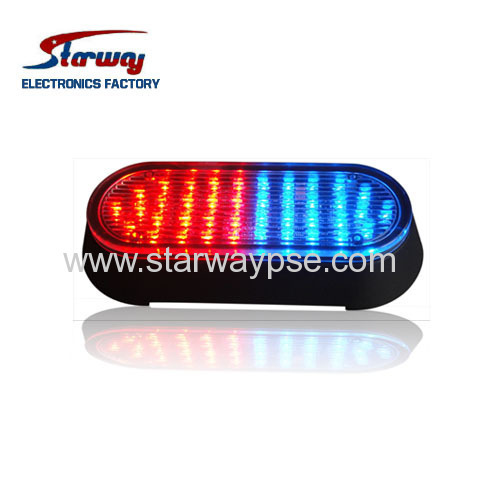
| Color: | Red / Blue / Amber / Clear / Green |


1. Summary
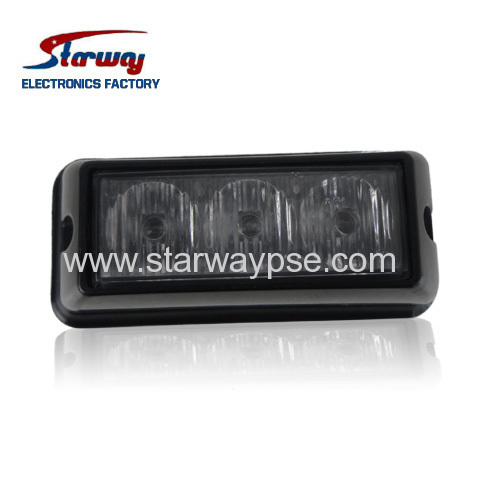
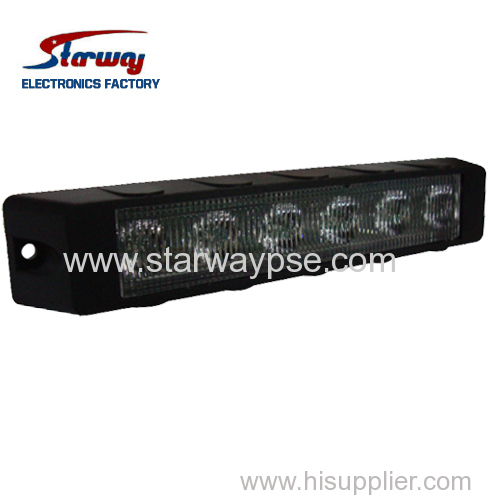
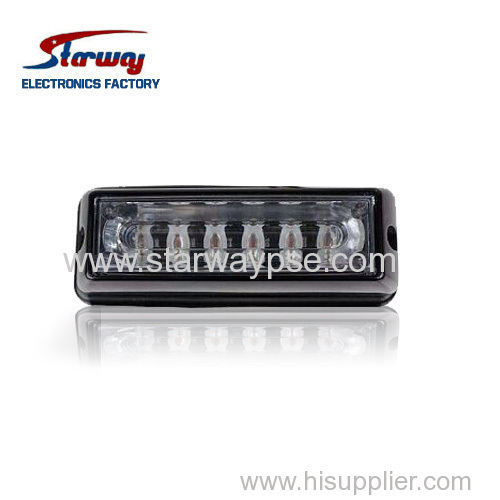
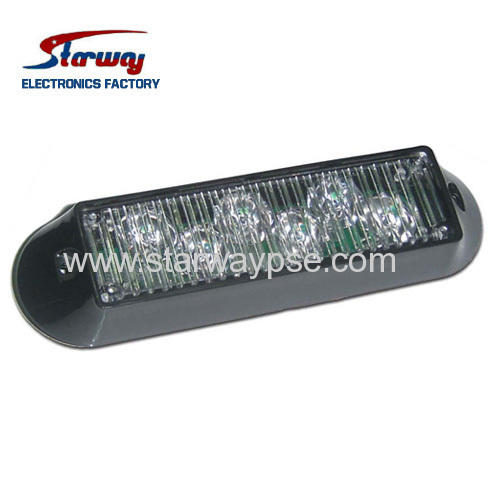
LED214 A Single Grille LED light is made of high brightness LED, it use microcomputer programming chip, and constant voltage circuit design, It has high brightness, low power loss, long life and so on the merits, it has a lot of kinds of flash pattern offer to choose and power off memory function. suit install in automobile vehicle.
2. Features
1). 100,000 hour life span
2). Weather-proof housing
3). Powered by 12V/24V
4). G-3 LEDs with 3 15 flash patters to pick from Cigarette light plug can be installed
5). Perfect for rearview mirror, grille and rear deck applications
6). Perfect for police fire EMS and construction vehicle lighting and airforce
7). Waterproof and shakeproof
3. Specifiation
Work voltage | DC12V/DC24V |
Consume electric current: | <600mA |
Environment | -40 ℃~ +50 ℃ |
Warning light color | Red / Blue / Amber / Clear / Green |
Power supply way | Constant voltage current control |
material | PC |
Flash patterns | 15 |
4.Packing Information:
Packing Size | 260x260x230mm |
Qty/CTN | 50PCS |
N.W / G.W | 6KGS / 7KGS |
5. Mounting
A. Place the unit against the mounting surface.
B. Mark the areas where the mounting holes are to be drilled. Confirm that no vehicle parts could be damaged by the drilling process.
C. Using a bit sized for a #6 sheet metal screw, drill two mounting holes. A 0.5" dia. wire passage hole(s) must also be drilled. Thoroughly de-burr all hole(s).
D. Route the wires through the hole(s) in the gasket and through the wire passage hole(s) in the mounting surface. Secure the headlight to the mounting surface using the hardware provided.
6. Wiring
See illustration below for wiring information
WARNING! All customer supplied wires that connect to the positive terminal of the battery must be sized to supply at least 125% of the maximum operating current and at the battery to carry the load. DO NOT USE CIRCUIT BREAKER SWITH THIS PRODUCT!
7. Operation
Scan-Lock™ -Each flash pattern is available in two modes; Phase 1 & Phase 2. The patterns are controlled with the YELLOW wire.
To advance to the next pattern, apply +VDC to the YELLOW wire for less than 1 second.
To cycle backwards, apply +VDC for more than 1 second.
To reset to the factory default pattern, turn off power to the headlight and while applying +VDC to the YELLOW wire, turn the headlight back on. Continue to apply voltage for 5 seconds.
headlights configured to display the Phase 1 mode of a pattern will flash simultaneously. Any headlights configured to display the Phase 2 mode will alternate with any Phase 1 headlights with the same pattern.
Flash Patterns:
(1). FIVE FLASH Phase 1
(2). FIVE FLASH Phase 2
(3). QUAD FLASH Phase 1
(4). QUAD FLASH Phase 2
(5). DOUBLE FLASH Phase 1
(6). DOUBLE FLASH Phase 2
(7). SINGLE FLASH Phase 1
(8). SINGLE FLASH Phase 2
(9). TRIPLE FLASH Phase 1
(10). TRIPLE FLASH Phase 1
(11). STEADY
Sync - To sync two headlights, configure both headlights to display the same Phase 1 pattern. With the power off, connect the WHITE wires from each headlight together. When the headlights are activated, their patterns will be synchronized. To configure the two headlights to alternate their patterns, advance the pattern of either headlight to the Phase 2 mode of the current pattern.
To understand how to use the sync feature with more than two headlights, the principles will be applied to a sample system consisting of 4 headlights. 2 are mounted on the rear, driverside and 2 are mounted on the rear, passenger-side. With all the wiring complete, turn on all 4 headlights. As shipped from factory, the headlights will all display FIVE FLASH Phase1. To configure one side to alternate with the other side, change the pattern for either the passenger or driver side to Phase 2mode for that pattern.
for dual lightheads, fuse each headlight separately
Note:
If the led light can not work, please check the main fuse inside the cigar plug.
Workshop:
Applications:
Police, Fire, The Automotive, Police, Fire, Motorcycle, Construction,Emergency Vehicle and School Bus Industries


Category: Grilles/Surface Mounts